recording vocals

Turning A Demo Into A Full Production

It’s a fun process turning a demo or sketch of a song into a full blown production. This blog describes an instance where a vocal coach asked me if I could produce a new version of his old demo.

Here’s a clip from the original demo:


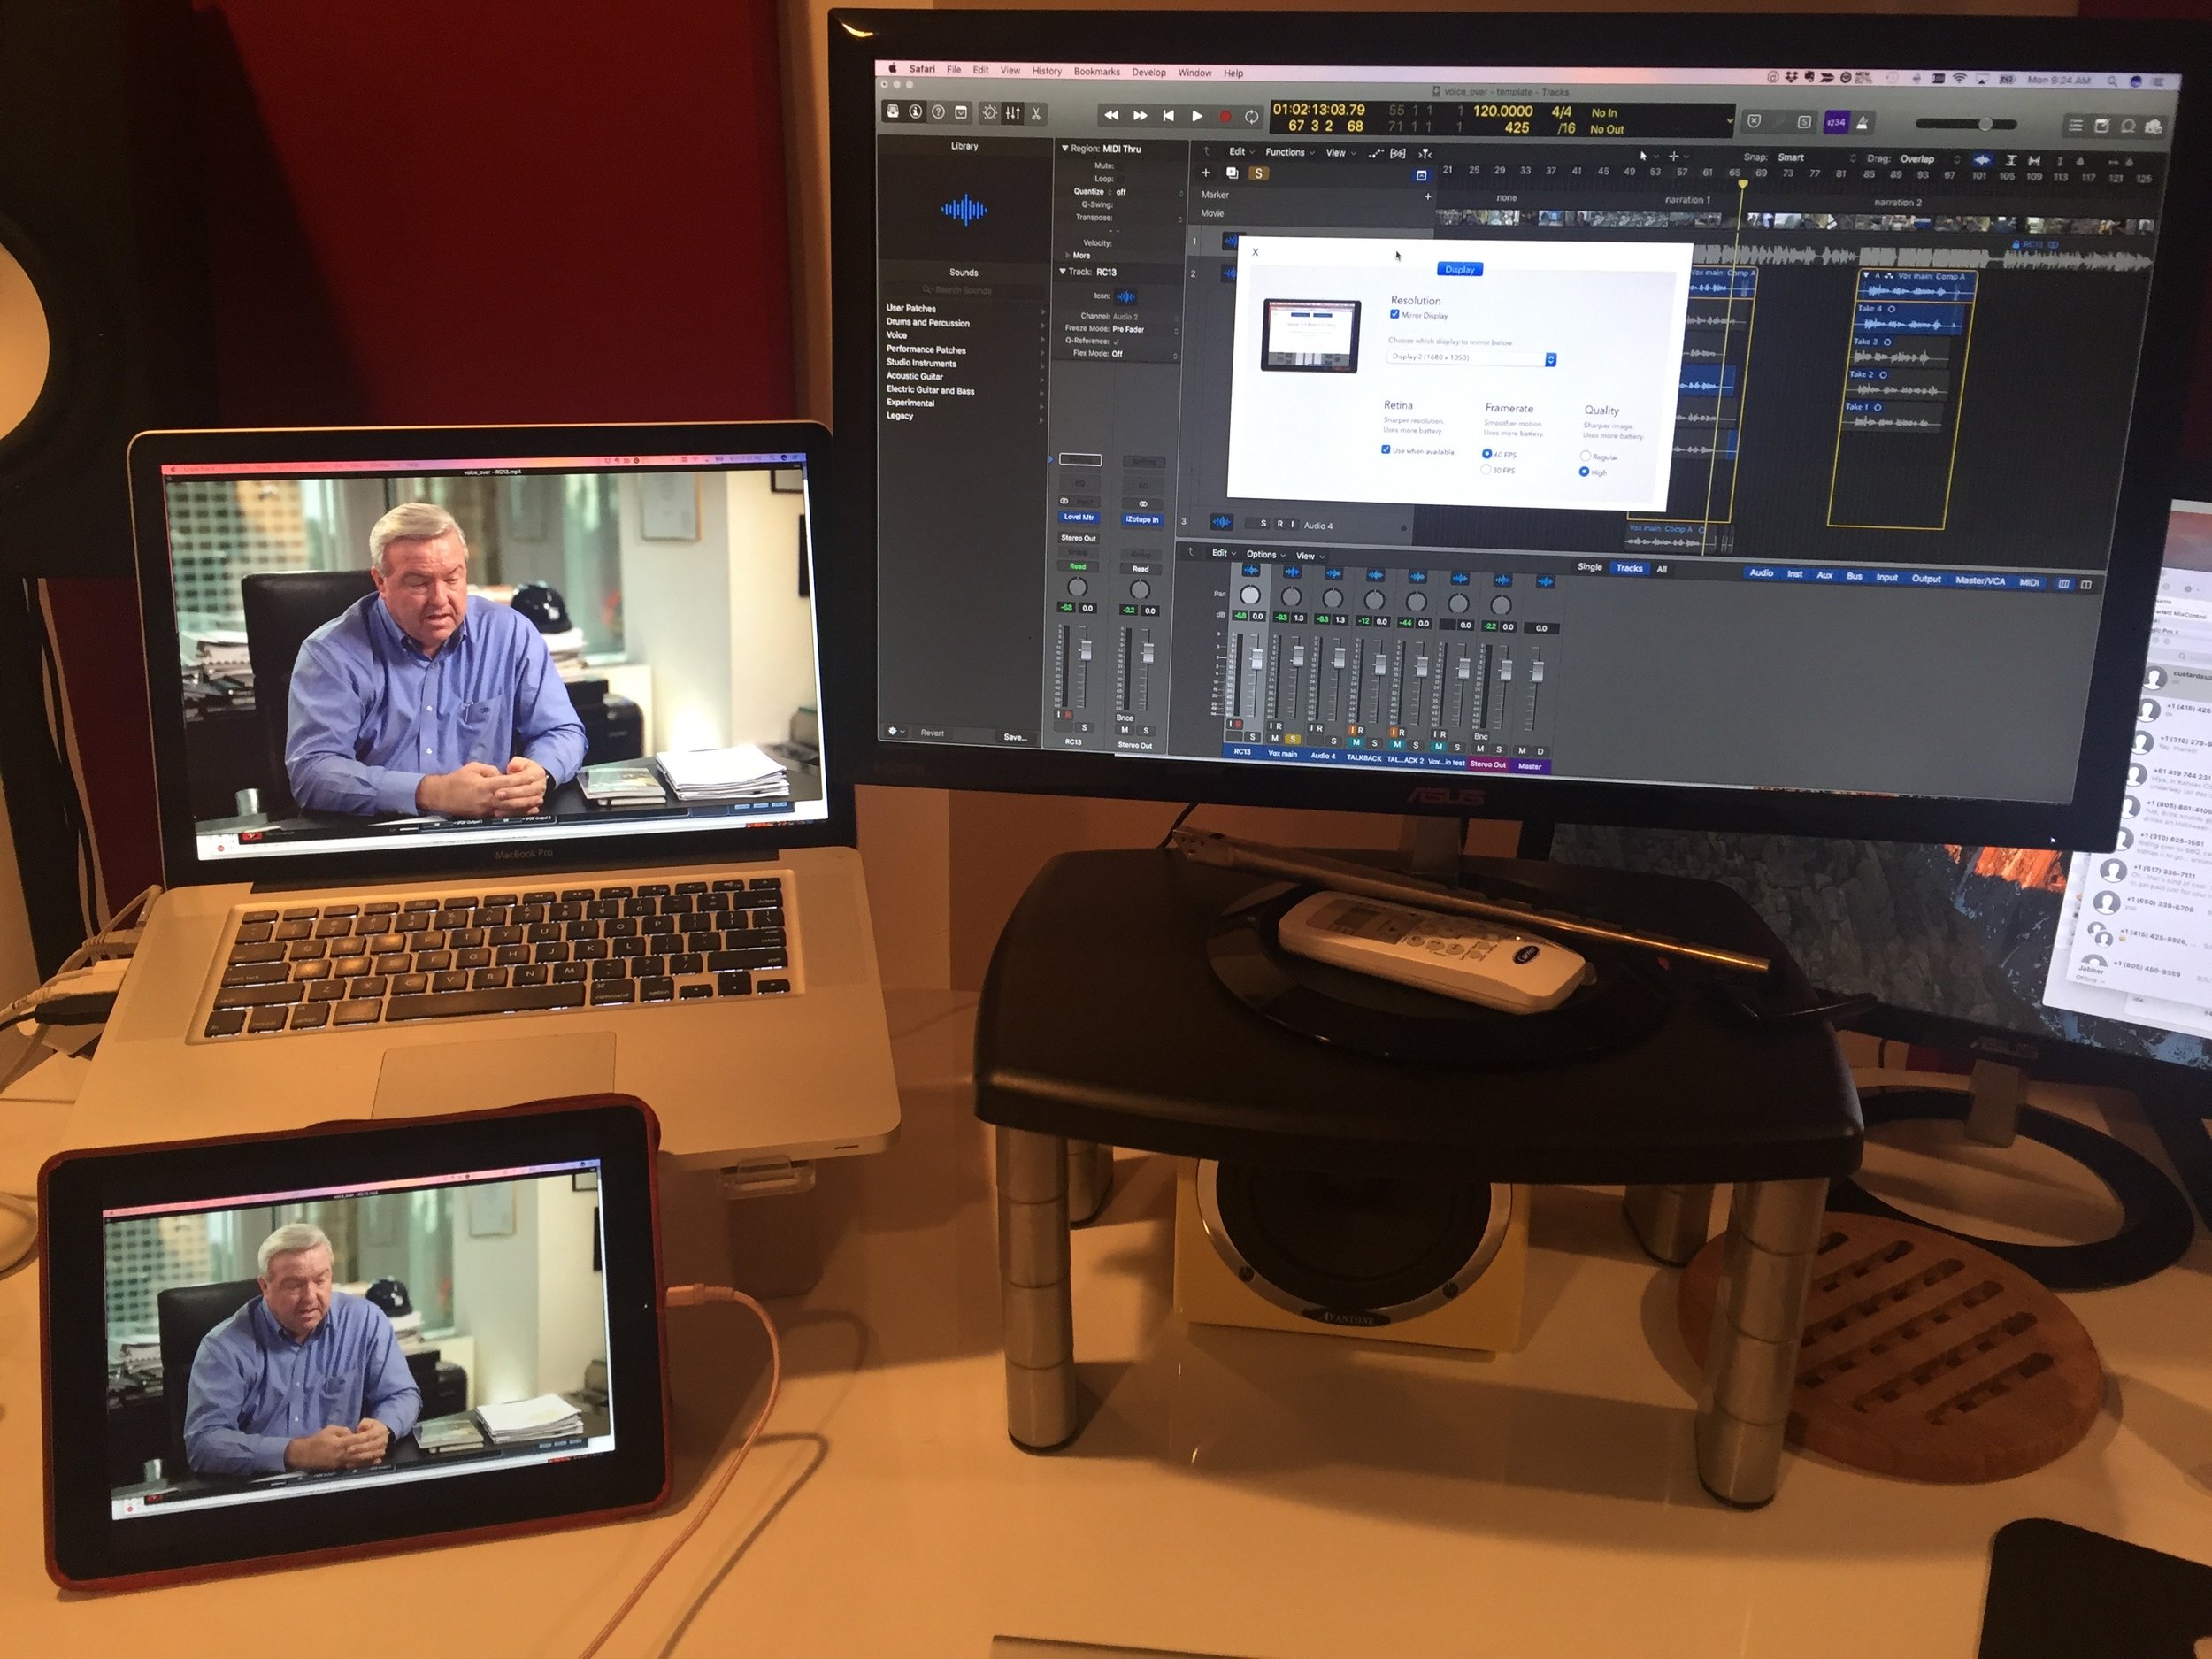
It’s not amazing sound quality, but good enough to work out the individual parts. To start with, I’ll usually take the original track and add it to my DAW (Logic), so I can continually reference back and forth as I'm building up the new track. I’ll then use markers to map out the arrangement, e.g. verse 1, pre-chorus, etc, so I can focus on individual parts at a time. Then I’ll work out the basic chords and write down the lyrics, using Evernote.

Initial tracking against reference track

Initial tracking against reference track

Mapping out the lyrics and chords in Evernote

Mapping out the lyrics and chords in Evernote

Around this point, I often try something experimental, and put together a version of the song that I hear in my head. With song sketches this is a great way of testing out different arrangements, but in this instance the client wanted the new production to have the same arrangement and music as the old one. Anyway, I quite liked the alternative version, and may re-use the music, which is different from the original (so no copying!).


The plan was to replicate the first verse and chorus in the track, to check that the client liked the direction. In the track, I could hear drums (probably a drum machine), bass, keyboard, a synth lead, and a synth pad (used to transition into the verse). I could hear most of the parts, but had a little trouble hearing what the lead synth was doing in the pre-chorus section. To solve this, I used a multipressor plugin on the track, to duck all other frequencies that were not the synth. This made it much easier!

The first thing I recorded was the bass and drums. I always set the main groove of any song around the drums and the bass. In this case, I built up the drum parts using Superior Drummer, and used an electric bass (my Fender Jazz). For the guitars, I replicated the main rhythm part, and also played an arpeggiated part using the same chords. These were hard panned left and right, and sounded great to me! Then I replicated the synth and keyboard sounds using stock instruments in Logic, which worked well. To give it more of a contemporary feel, I used a drum machine sound for the riff and first part of the verse, then shifted to an acoustic kit sound, which the client liked. After this, time for a guide vocal!

I find it hard to hear if an arrangement is working without recording a guide vocal, so I’ll always record myself singing the part, and send that to the client along with an instrumental version. So here’s a clip of the initial track with guide vox:


At this point the client was happy with the sound, but asked if a real drummer could be used. I currently don’t have an acoustic kit in the studio, and have been getting on fine with Superior Drummer. I plan to record using a real kit in the future, but at the moment, it’s an issue of cost and overhead. What I ended up doing, was recording the part with my electric drumkit, which fed into Superior Drummer. This let me capture the groove of the drums so they didn’t sound robotic, and then I just fixed some timing and bleed issues in the editor. Here’s a clip of recording this way. Usually I’ll play a little more seriously than this, but you get the idea.


Next step was to get the client into the studio to record the vocals. He was happy with the first session, but thought he could do a better take, and also wanted to bring in the original composer to sing backing vocals and offer advice on the lead vocal. We did this, had a great session, and the backing vocals brought out a definite pop feel for the song, which you can hear in the video. A final request was to remove one of the keyboard parts that the client didn’t like from the original, and we replaced this with a cello (East West Composer Cloud).

The client had quite a large vocal range, going from a baritone into a softer mixed voice. When applying EQ, I referenced against Isaac Hayes for the low part, and John Legend for the higher part, using a Pulteq plugin.

Here's the original and final file to compare:

BEFORE                                                                      AFTER

Here's the client singing a section of the song from the vocal booth:


Final Thoughts?

I probably lost a bit of time experimenting with the drums, and testing out instruments that were not in the original such as electric guitar. In this case, it's best to keep things simple, and not try and guess what the client might want. I'd still love an acoustic kit at one point though!

Overall, I'm very pleased with the track, and feel we produced a radio worthy version.

Recording Voice-Overs

This blog gives an overview of voice-over recording, from the engineer’s perspective.

My studio was built with the singer in mind, but I am perfectly equipped to record voice-overs, and have done so on multiple occasions. It helps having a vocal booth and a Neumann U87, which is a popular mic for voice-over recording.

If I’m recording someone who is sitting down, the upside down position of the mic works better, as it’s easier to adjust the height with a standard mic stand, and it looks cool.

 
IMG_2901.jpg
 

First things first, prep! It’s great if you can get any session material from the client beforehand. This could be a video or a script. Here's an example of a recent script:

 
Marissa_Voice_Over_Scripts__docx.jpg
 

The script lets you run the session smoothly, pick up quickly on any mistakes, and organize your recordings cleanly.

If you get a video, make sure it can be synced up with your DAW. Logic Pro X is great for this. This means that when you begin recording, the video plays at the same time. This is extremely useful, as it means that the voice-over will also be in sync, and post editing work will be quicker.

One issue though. How to stream the video into the booth? One solution I found is to use an ipad, a USB cable with a long extension, and an App called ‘Duet’. Hooking it up was a breeze, and I was able to sync the display from my second monitor (on the left). The iPad could then go into the booth.

 
IMG_3024.jpg
 

Next part is gain staging. This is a little different than recording a singer but not drastically. There is less of a dynamic range with a voice-over, so the levels are more consistent. With a singer, you want to have them sing the loudest section of the song, so you can set the gain around that. A recent voice-over was recorded with a -25Db average with peaks of around -13Db. There’s a low noise floor with 24 bit recordings, so the volume can be boosted easily afterwards. I also avoid going higher than -10Db in case of any clipping, which won't happen till 0Db, but I like a lot of headroom for safety.

When recording the session, there are a couple of different approaches that people use:

Do everything in a single takes with mistakes included

If you make a mistake, say ‘Again’, and read the phrase again. It’s usual to have about three full single takes. The main problem with this approach is that you will have to manually splice the audio when editing. However, it does let you fix the mistake immediately. It could be the case that on your second take, the same mistake is made, you forget, and don't have a clean take of it.

Do everything in single takes but start again if mistake

This approach goes for a clean take, and attempts to only have a selection of clean takes. The problem here would be if the take was a long one, and it's a complete pain to go back to the start every time. In these cases I would probably just punch the voice actor in to fix any issues, or use a separate take to fix the problems, and create a comp from that.

Everyone I recorded so far had someone already in place to do the editing and mixing for them. All they wanted from me was the raw files. This is easy in Logic. All you have to do is highlight the tracks, right click, and ‘export as audio files’. One issue I thought about, was how to adjust plugin values in multiple tracks at once. It could be the case that you have (like I did recently) 132 tracks, and you want to make the same adjustment to all of them (compressor, de-esser, low cut, etc). If you're in this situation, and using Logic, here's two techniques that will work:

How to add and adjust plugins for multiple tracks

This technique is a little 'hacky', but it works, and won't take too long.

  • Add a plugin to a single Channel.
  • Adjust the values of the plugin accordingly.
  • Save the plugin values as ‘Default’. This means any time you open up this plugin on a track, it will have these new values.
  • Highlight all the channels you want to add the plugin to.
  • Add the plugin to the first channel, and it will appear in all of them, with the values you set as the default.

Here's a voice-over I recorded using the above method. Fortunately I didn't do the editing!


How to apply the same amount of gain to multiple tracks at once

  • Select all tracks
  • Adjust the gain setting in the inspector window (see image below)
john_ennis_-_27th_sept_2017_mixing_-_Tracks.jpg

If you are doing the mixing yourself, here's a useful article about broadcasting loudness levels. You'll need a brick wall limiter for this! I use Izotope Ozone for this stuff.

https://transom.org/2016/podcasting-basics-part-5-loudness-podcasts-vs-radio/


Recording Breakdown: Elusive

I recently produced a track for Azure, which was a cover of 'Elusive' written by Scott Matthews, as performed by Lianne La Havas.

I originally accompanied Azure on this song back in Feb 2015 at one of her shows. It was actually a bit tricky coming up with an acoustic guitar arrangement, due to the way Lianne plays. She almost suggests chords with the guitar, and uses her voice to fill the space. She also uses evil jazz chords, which have been know to cause me nightmares.

What I did, was break down the jazzy E chord in the verse into two variants, played sparsely. Generally, I play the bottom E first with my thumb, then pluck the remaining strings on the second beat. Then I'll play the top E string just before switching variants. Like Lianne, Azure's voice is great at filling in the space. For reference, here's the tab of the chords I used. They probably have official names, but I build them up by ear, and will just call them 'Evil jazz 1' and 'Evil jazz 2'

Evil jazz 1

E|--0 B|--4 G|--4 D|--2 A|--x E|--0

Evil jazz 2

E|--0 B|--2 G|--4 D|--2 A|--x E|--0

I used my Martin D28 for the acoustic parts, with a matched pair of AKG P170 mics to record a stereo image, with an X/Y placement. One mic was pointing at the top 3 strings, and the other at the bottom, aimed at roughly the 12th fret. I have a great LR Baggs M80 pickup which I often use for recording, but using the mics gives more of a pure sound, which is significantly different. This gives me two recordings of the same take with slightly different sound. These can then be panned hard left and right, which gives a bigger guitar sound. You can cheaply get a stereo mic holder as seen below.

mics
mics

The LR Baggs pickup is still amazing though. It's fantastic live, and I use it to record all live performances in my studio. I didn't do too much with the guitar EQ, as it recorded quite brightly. Mainly I just used a high pass filter, which removes bass rumble, and cut some other bassy frequencies, which in turn gives a natural boost to some of the higher frequencies.

guitar_eq
guitar_eq

When I was doing the initial mastering, I boosted the volume of the entire track and noticed with a shock (and a lot of swearing) that there was hiss on the guitar during the silences. This stemmed from recording the guitars reasonably hot (higher mic input volume), but was remedied using a noise gate.

At the very beginning of the song, you can hear only acoustic, and a 'Bright Mk11 Blackface' electric piano plugin, panned slightly to the right. I really like it's tremolo effect. I then bring in some bass. There's not much chordal variation in the verses, so I slightly emulated what is in the Lianne version, by playing with the E note at the top and bottom of the octave.

On the chorus, I replicated what I did in the original performance of Elusive. I had to go back and study a recording I have of the live show (which was recorded way too hot because I'm an idiot, and clips badly). Fortunately I could make out the guitar. I used my Gibson ES for this part, and ran it through a crunch distortion in Logic called 'Big Brute Blues'. I just added a bit more reverb, and panned it to the left. I was actually really pleased with this guitar part (if I may say so!). I really dislike using bar chords, so either played open variations of the chords (such as Cm, where I also play the top E string open), or 3 or 4 note variations of the others (F#m, G#m), then connected them with some runs, which I think gives the lick a walking feel, rather than a rigidity that you can get from playing a solid chord sequence.

I also have an analogue synth pad on the chorus which is barely audible. This helps to fill out the overall sound.

Working with Azure's voice is great. There's a few standout things she does. I love her vocal flips, which you can hear at around 2:12. She also does a 'last minute' vibrato quite regularly, where's she'll hold the note for a while, then let the vibrato roll out just when you think the note is finishing. She should really patent this. There's a good example of it at around 2:39.

You'll hear me using the term 'hot' a lot, when recording with a mic. There's a school of thought based on analogue recordings that says you should record as hot as you can without clipping, to minimize noise. Too much pre-amp gain can introduce noise though, but too little can introduce noise as the level needs to be increased a lot after recording. The other school of thought is that with 24 bit recordings, you can record at much lower levels. I kept Azure slightly hot here, as she isn't doing any belting, and I wanted to capture the breathiness of her voice, which you don't always get as clearly with lower levels.

There's also a compressor on an effects bus processing half the signal, which lets me tame the louder notes and increase the overall volume. An issue I ran into was that some of the vowels that Azure sang cut through the mix more than others, and I didn't want to heavily compress the signal. What I did was run an EQ analyzer on her voice, pinpointing the precise frequencies that were jumping out. There's a particular bit where Azure sings 'fake' which caused a spike. I found this frequency and surgically cut it. You can see a couple more cuts in the image below. I also boosted some top end which I think helped to introduce more airiness to Azure's voice. I also used some volume automation to tame certain vocals more. This lets me dynamically change the volume in specific sections, without having to cut up the track to do so (know as 'multing')

azure_eq
azure_eq

When recording vocals, I like a singer to do at least 4 takes. This is called comping, and lets you pick and choose the best bits from each take, to construct a single final one. I know there's some magic in capturing a single take, but that's more fun with live recordings. It's WAY easier having the option of comping in the studio. It can be used to fix any problem vocals, but it can also be used to add more interesting vocals. I often find that the more interesting vocals come out in the later takes, even if the take isn't wholly consistent. Interestingly with Azure, I used most of her first take, but comped in little bits from the others.

azure_comp
azure_comp

When mixing, I'll always use some reference tracks, which can be used to get a recording sounding more 'commercial'. They can help with things like balancing out individual instruments in the mix, and also general EQ. With Azure, I referenced the original Lianne track which helped with the bass, and also India Arie's 'Ready for Love', which has a similar sparse feel, and a breathy vocal.

For the outro of the song, I used a similar acoustic lick to my original live version. You can hear fret noise when my fingers are moving, which I particularly like. This could be reduced by using a gate, recording less hot, or recording further away from the mic. I like a guitar to sound natural, and I think these small human touches can add warmness to a track.

Overall, I was pleased with the outcome of this. Azure has a really interesting dynamic voice, and as mentioned, I love the flips, slow rolling vibrato, richness and breathiness that I think captured well, and I look forward to doing more recordings with her.